First step:
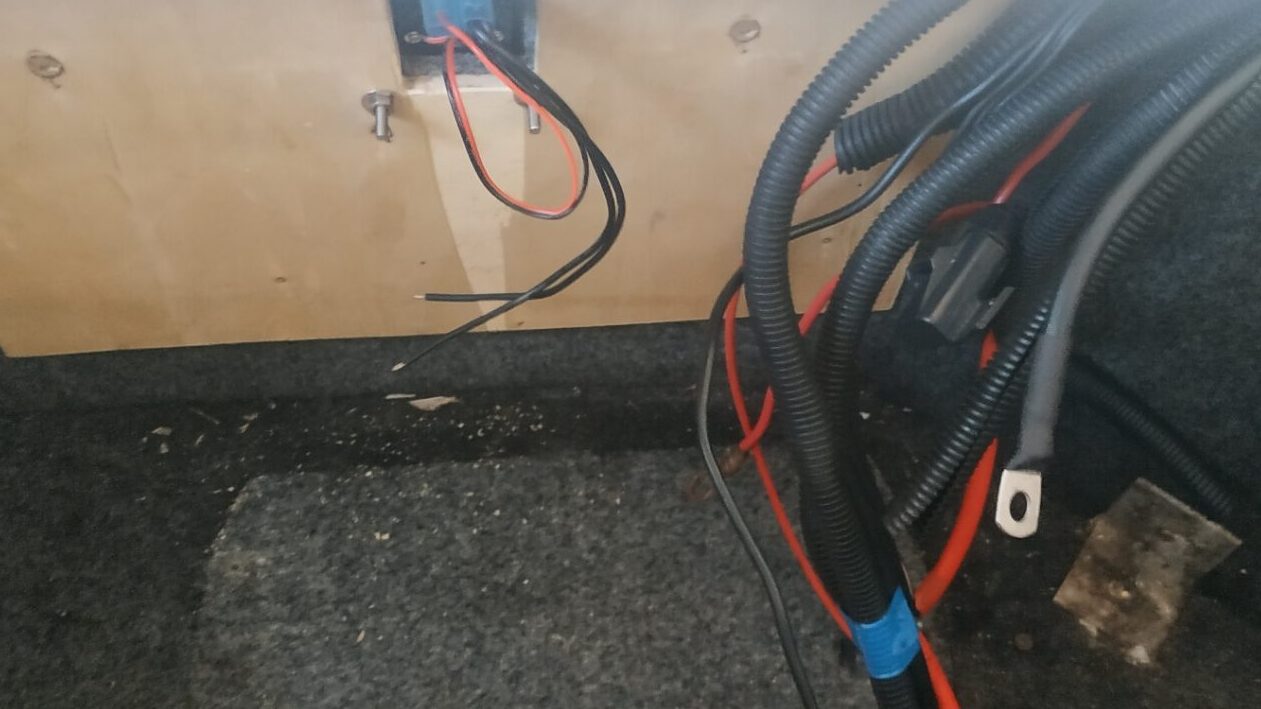
Bring in all electrical wires. protecting them appropriate and guide these wires above water-line into new battery compartment.

Second step:
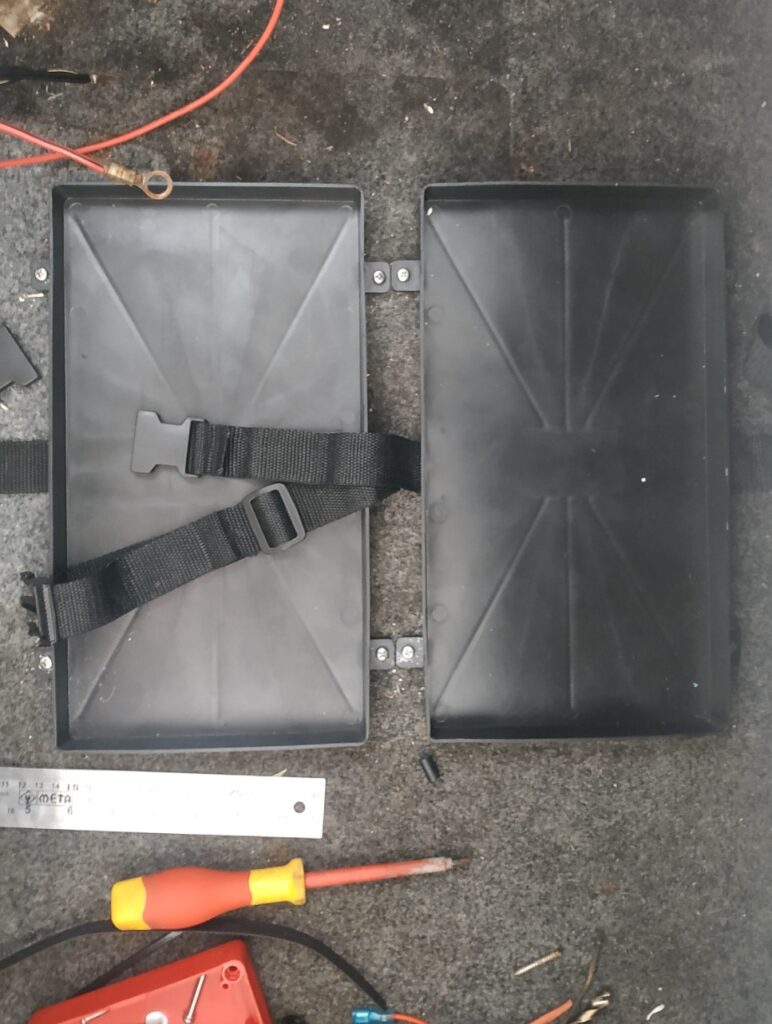
Create a plan for how and were you are going to install the new Busbar’s and circuit breakers and Main Battery switch. The idea is to have a clean cable flow and not a twisted and messy new wiring arrangement. Think also about were you gonna place the batteries and how. The idea is to have all as compact and clean installed as possible. When you got the plan, start the execution. I started in my case with the installation of the new battery tray’s.

Third step:
Install the Busbars and Main battery switch as you planned. Then create clean untangled wire flow to contact points and create good waterproofed terminals at each end of the new wires.

Adding main battery switch
At this stage I added the new main battery switch and made also the new wires for the new switch

Wiring all correctly up
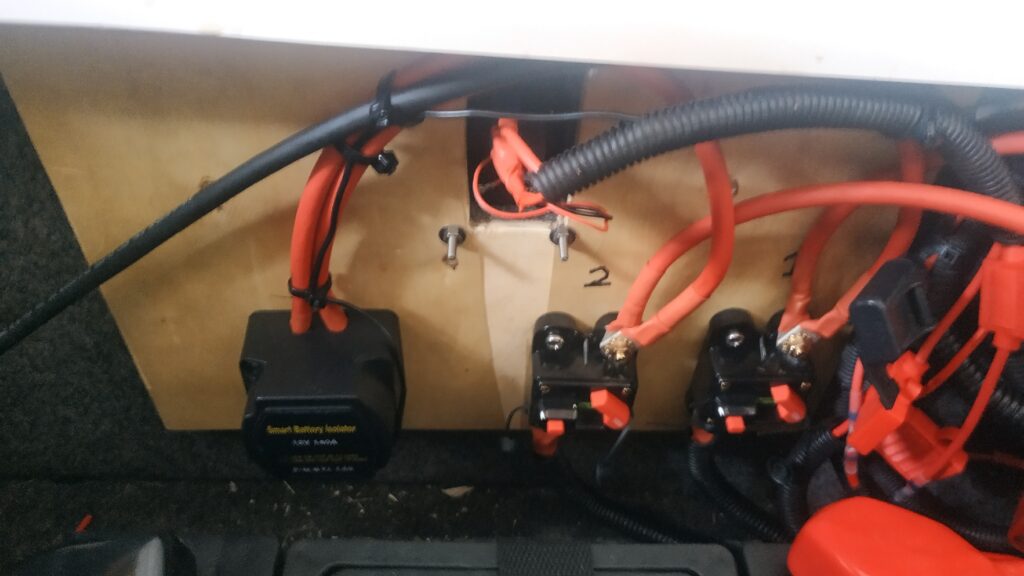
This step is the most sensitive one. You need to create correct wire length’s and correct wrings to each positive and negative pole. At this point you need to be aware to keep all marine safety standards in mind to correctly adapt these codes either AYBC or ICE codes. My wirings are done here in ICE code. Remember all these wirings will be cleaned up in the end with the final touch. Here I started to install the ACR unit with the breakers. On the far left side you see all Blade fuses come together. Later stage I ID tagged these and then cleaned installation. The idea here is to not leave wires and Terminals at the end exposed, use conduits, protect these and keep them above waterline together. Here at the Breakers you can see the factory terminal protection are not good. Later, we covered the exposed terminals.

Last step:
We install the new batteries and cleaned up the whole Battery compartment. The Idea here is to cover any free wire with protective conduit and fix individually these wires to be loose inside the compartment. In our case we use cable ties to make sure that all wires are correctly hold in place against any vibration so to not damage any terminal or wire installed. Finally of course is the testing of your installation. In our case it worked like a charm and our client is happy which makes our company happy.

